
What to do if Computer doesn’t meet Vestibular First Standards
This guide demonstrates how to optimize recording if your computer’s performance is not up to Vestibular First’s standards. This guide will do this by reducing FPS, lowering resolution, and using hotkeys.
1. Reducing Frames Per Second
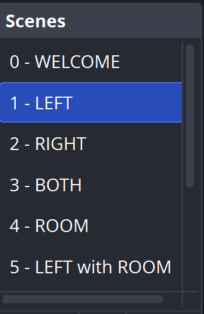
A. Scene Selection
Left click the 1 – LEFT in the Vestibular First scene
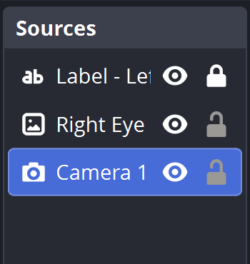
B. Camera Selection
Double left click on Camera 1 (Left Eye)
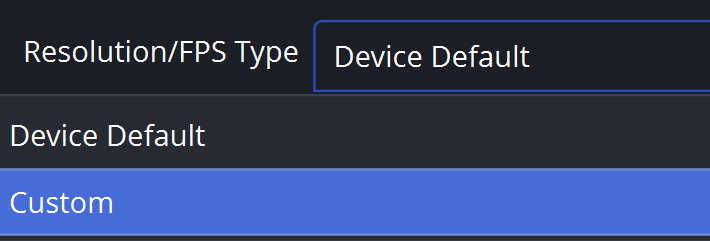
C. FPS Type
The FPS Type/Resolution is set to Device Default by default. Change this to Custom.
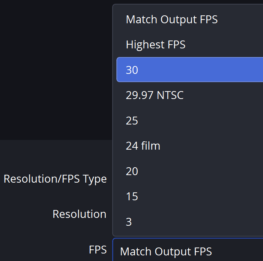
D. Changing FPS
Change the FPS option to 30 to reduce the amount of space that the video files take up.
If 30 FPS is still creating problems, lower the FPS again.
E. Right Side
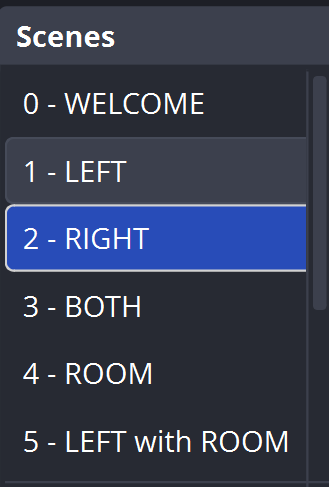
Repeat Steps A through D, but select Camera 2 (Right Eye) under the 2 –Right scene

2. Lowering Resolution
A. Scene Selection
Left click the 1 – LEFT in the Vestibular First scene
B. Camera Selection
Double left click on Camera 1 (Left Eye)
C. Resolution
The FPS Type/Resolution is set to Device Default by default. Change this to Custom.
D. Changing Resolution
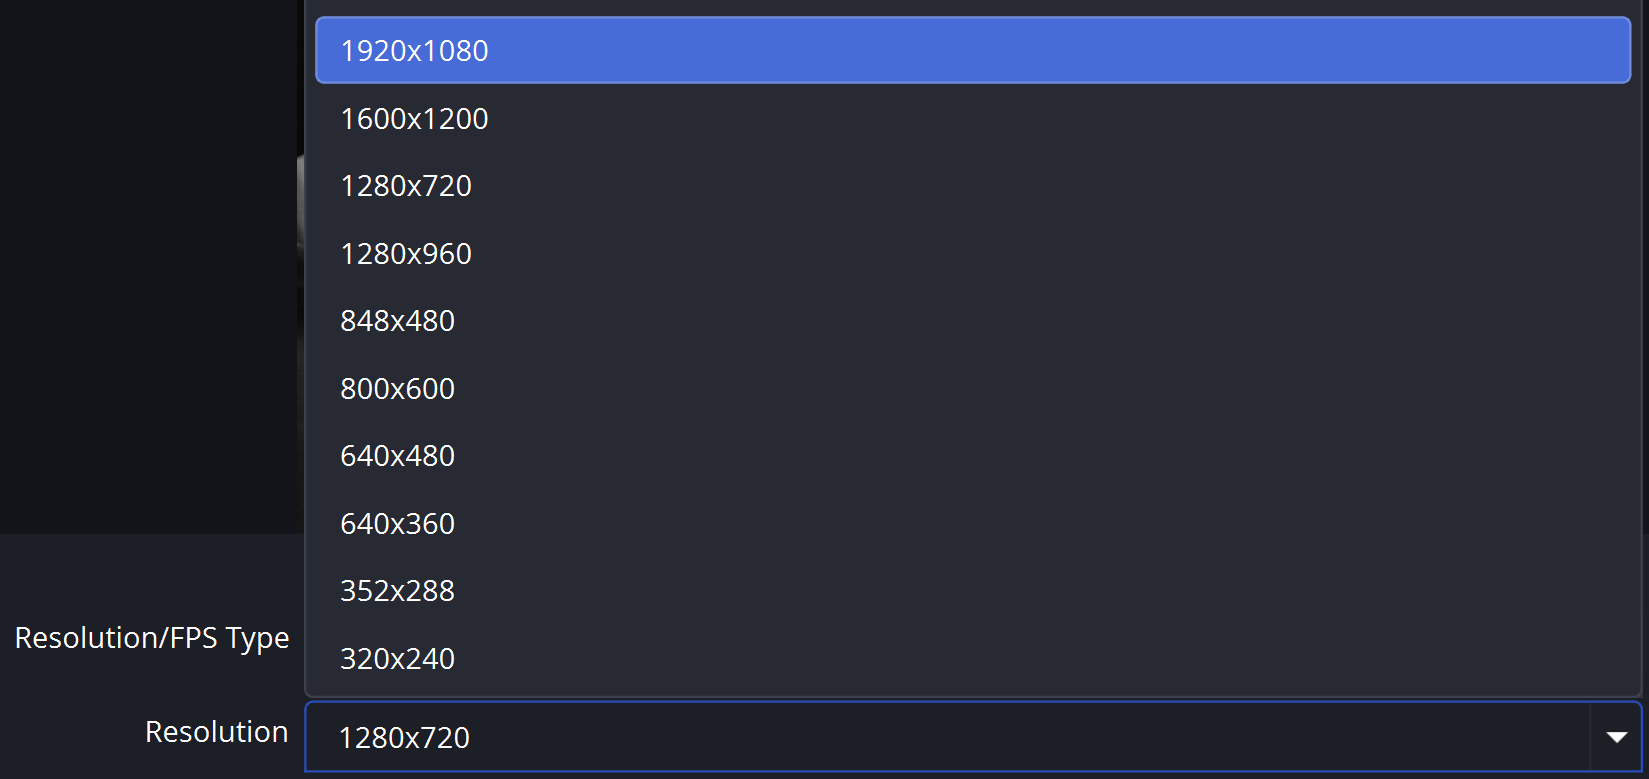
Lower the resolution to 1920×1080 by selecting it from the dropdown menu or typing it into the field. This will reduce file size and typically prevent performance issues. If you still experience high file sizes or framerate problems, lower the resolution again to 1280×720.
E. Right Side
Repeat Steps A through D, but select Camera 2 (Right Eye) under the 2 –Right scene
These steps will be lowering the resolution of the videos and will decrease the quality of the videos. This link will lead you to the hardware requirements page. It is recommended to use a computer that meets the hardware requirements for this software.
3. Using Hotkeys
A. Settings
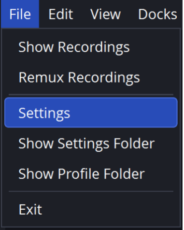
In the top left corner of OBS left click on File. Left click on Settings in the dropdown menu.
B. Hotkeys
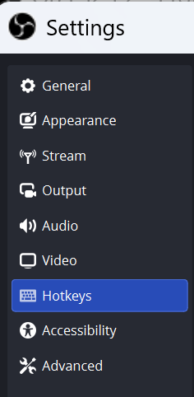
Left click on the Hotkeys section. This will be located on the left side of the pop-up window.
C. Creating Hotkeys
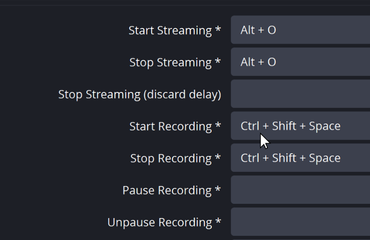
You can create shortcuts for different OBS commands by clicking the boxes next to the command and pressing the desired keys at the same time.
D. Applying Changes
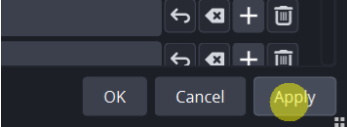
Make sure to select Apply at the bottom right of the window or the settings will not be saved.
Note: These hotkeys (keyboard shortcuts) will still activate even if the application is not on the screen, by default. To prevent accidental recordings you should use more complex hotkeys such as CTRL + SHIFT + SPACE to make sure the hotkeys are not accidentally pressed. If the hotkey is multiple buttons, they all have to be pressed at the same time, not sequentially.