
Adjusting Camera Resolution
Lowering the resolution directly reduces the number of pixels your computer has to process, which saves storage space and improves performance. When your system isn’t overloaded, it can maintain a higher, smoother FPS, making your recordings more stable. This section will explain how to decrease your resolution to keep OBS running efficiently.
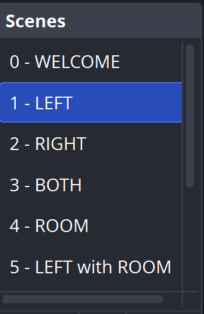
A. Scene Selection
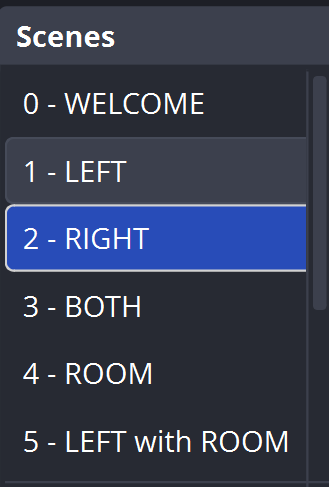
Left click the 1 – LEFT in the Vestibular First scene
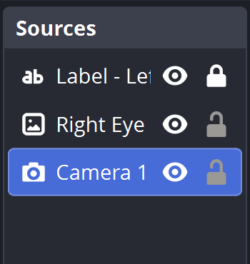
B. Camera Selection
Double left click on Camera 1 (Left Eye)
C. Resolution
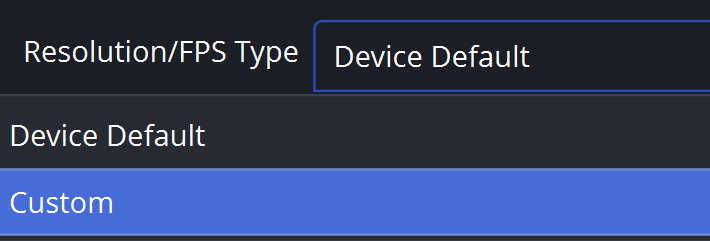
The FPS Type/Resolution is set to Device Default by default. Change this to Custom.
D. Changing Resolution
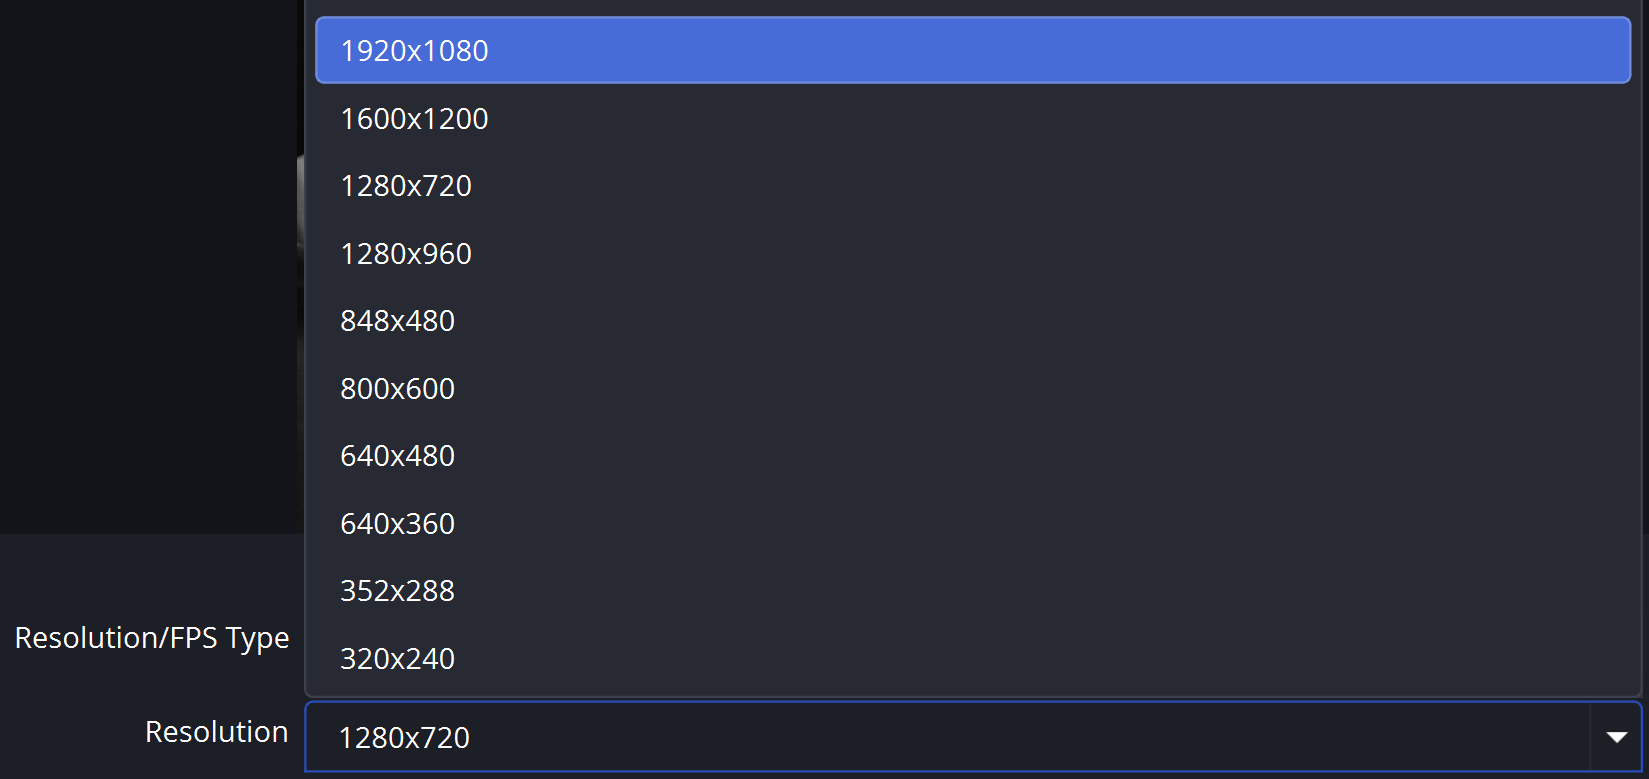
Lower the resolution to 1920×1080 by selecting it from the dropdown menu or typing it into the field. This will reduce file size and typically prevent performance issues. If you still experience high file sizes or framerate problems, lower the resolution again to 1280×720.
E. Right Side
Repeat Steps A through D, but select Camera 2 (Right Eye) under the 2 –Right scene
These steps will be lowering the resolution of the videos and will decrease the quality of the videos. This link will lead you to the hardware requirements page. It is recommended to use a computer that meets the hardware requirements for this software.